Contents
This article will show you how to integrate spring security and Keycloak together.
Three main steps to do this job:
- Create a new Spring boot project
- Config Keycloak
- Config spring security
Create a new Spring boot project
Add maven dependencies:
<dependency>
          <groupId>org.keycloak</groupId>
          <artifactId>keycloak-spring-boot-starter</artifactId>
</dependency>

<dependencyManagement>
      <dependencies>
          <dependency>
              <groupId>org.keycloak.bom</groupId>
              <artifactId>keycloak-adapter-bom</artifactId>
              <version>6.0.1</version>
              <type>pom</type>
              <scope>import</scope>
          </dependency>
      </dependencies>
  </dependencyManagement>
Modify application.properties
### server port
server.port=8081

#Keycloak Configuration
keycloak.auth-server-url=http://52.231.154.57:31951/auth
keycloak.realm=SpringBootKeycloak
keycloak.resource=login-app
keycloak.public-client=true
keycloak.principal-attribute=preferred_username
WebController.java
package com.andrewprogramming.keycloakdemo.controller;

import com.andrewprogramming.keycloakdemo.dao.CustomerDAO;
import com.andrewprogramming.keycloakdemo.entity.Customer;
import org.springframework.stereotype.Controller;
import org.springframework.ui.Model;
import org.springframework.web.bind.annotation.GetMapping;

import java.security.Principal;

import org.springframework.beans.factory.annotation.Autowired;

@Controller
public class WebController {

    @Autowired
    private CustomerDAO customerDAO;

    @GetMapping(path = "/")
    public String index() {
        return "external";
    }

    @GetMapping(path = "/customers")
    public String customers(Principal principal, Model model) {
        addCustomers();
        Iterable<Customer> customers = customerDAO.findAll();
        model.addAttribute("customers", customers);
        model.addAttribute("username", principal.getName());
        return "customers";
    }

    // add customers for demonstration
    public void addCustomers() {

        Customer customer1 = new Customer();
        customer1.setAddress("1111 foo blvd");
        customer1.setName("Foo Industries");
        customer1.setServiceRendered("Important services");
        customerDAO.save(customer1);

        Customer customer2 = new Customer();
        customer2.setAddress("2222 bar street");
        customer2.setName("Bar LLP");
        customer2.setServiceRendered("Important services");
        customerDAO.save(customer2);

        Customer customer3 = new Customer();
        customer3.setAddress("33 main street");
        customer3.setName("Big LLC");
        customer3.setServiceRendered("Important services");
        customerDAO.save(customer3);
    }
}
CustomerDAO.java
import com.andrewprogramming.keycloakdemo.entity.Customer;
import org.springframework.data.repository.CrudRepository;

public interface CustomerDAO extends CrudRepository<Customer, Long> {

}
Customer.java
@Entity
public class Customer {
    @Id
    @GeneratedValue(strategy = GenerationType.IDENTITY)
    private long id;
    private String name;
    private String serviceRendered;
    private String address;

    public long getId() {
        return id;
    }

    public void setId(long id) {
        this.id = id;
    }

    public String getName() {
        return name;
    }

    public void setName(String name) {
        this.name = name;
    }

    public String getServiceRendered() {
        return serviceRendered;
    }

    public void setServiceRendered(String serviceRendered) {
        this.serviceRendered = serviceRendered;
    }

    public String getAddress() {
        return address;
    }

    public void setAddress(String address) {
        this.address = address;
    }

}
Config Keycloak
- Create a new realm: “SpringBootKeycloak”
- Create a new Client: “login-app”
- Create a new user and name it: “adminUser”
- Create a new role and name it: “user”
- Assign the role “user” to the user “adminUser”
Spring security part
@Configuration
@ComponentScan(
        basePackageClasses = KeycloakSecurityComponents.class,
        excludeFilters = @ComponentScan.Filter(type = FilterType.REGEX, pattern = "org.keycloak.adapters.springsecurity.management.HttpSessionManager"))
@EnableWebSecurity
class SecurityConfig extends KeycloakWebSecurityConfigurerAdapter {
    // Submits the KeycloakAuthenticationProvider to the AuthenticationManager
    @Autowired
    public void configureGlobal(AuthenticationManagerBuilder auth) throws Exception {
        KeycloakAuthenticationProvider keycloakAuthenticationProvider = keycloakAuthenticationProvider();
        keycloakAuthenticationProvider.setGrantedAuthoritiesMapper(new SimpleAuthorityMapper());
        auth.authenticationProvider(keycloakAuthenticationProvider);
    }

    @Bean
    public KeycloakSpringBootConfigResolver KeycloakConfigResolver() {
        return new KeycloakSpringBootConfigResolver();
    }

    // Specifies the session authentication strategy
    @Bean
    @Override
    protected SessionAuthenticationStrategy sessionAuthenticationStrategy() {
        return new RegisterSessionAuthenticationStrategy(new SessionRegistryImpl());
    }

    @Override
    protected void configure(HttpSecurity http) throws Exception {
        super.configure(http);
        http.authorizeRequests()
                .antMatchers("/customers*").hasRole("user")
                .antMatchers("/admin/**").hasRole("admin")
                .anyRequest()
                .permitAll();
    }
}
Running result
If everything is ok when you type http://your_id_address:8081 you can see this page

Click customers link and it will show below page:
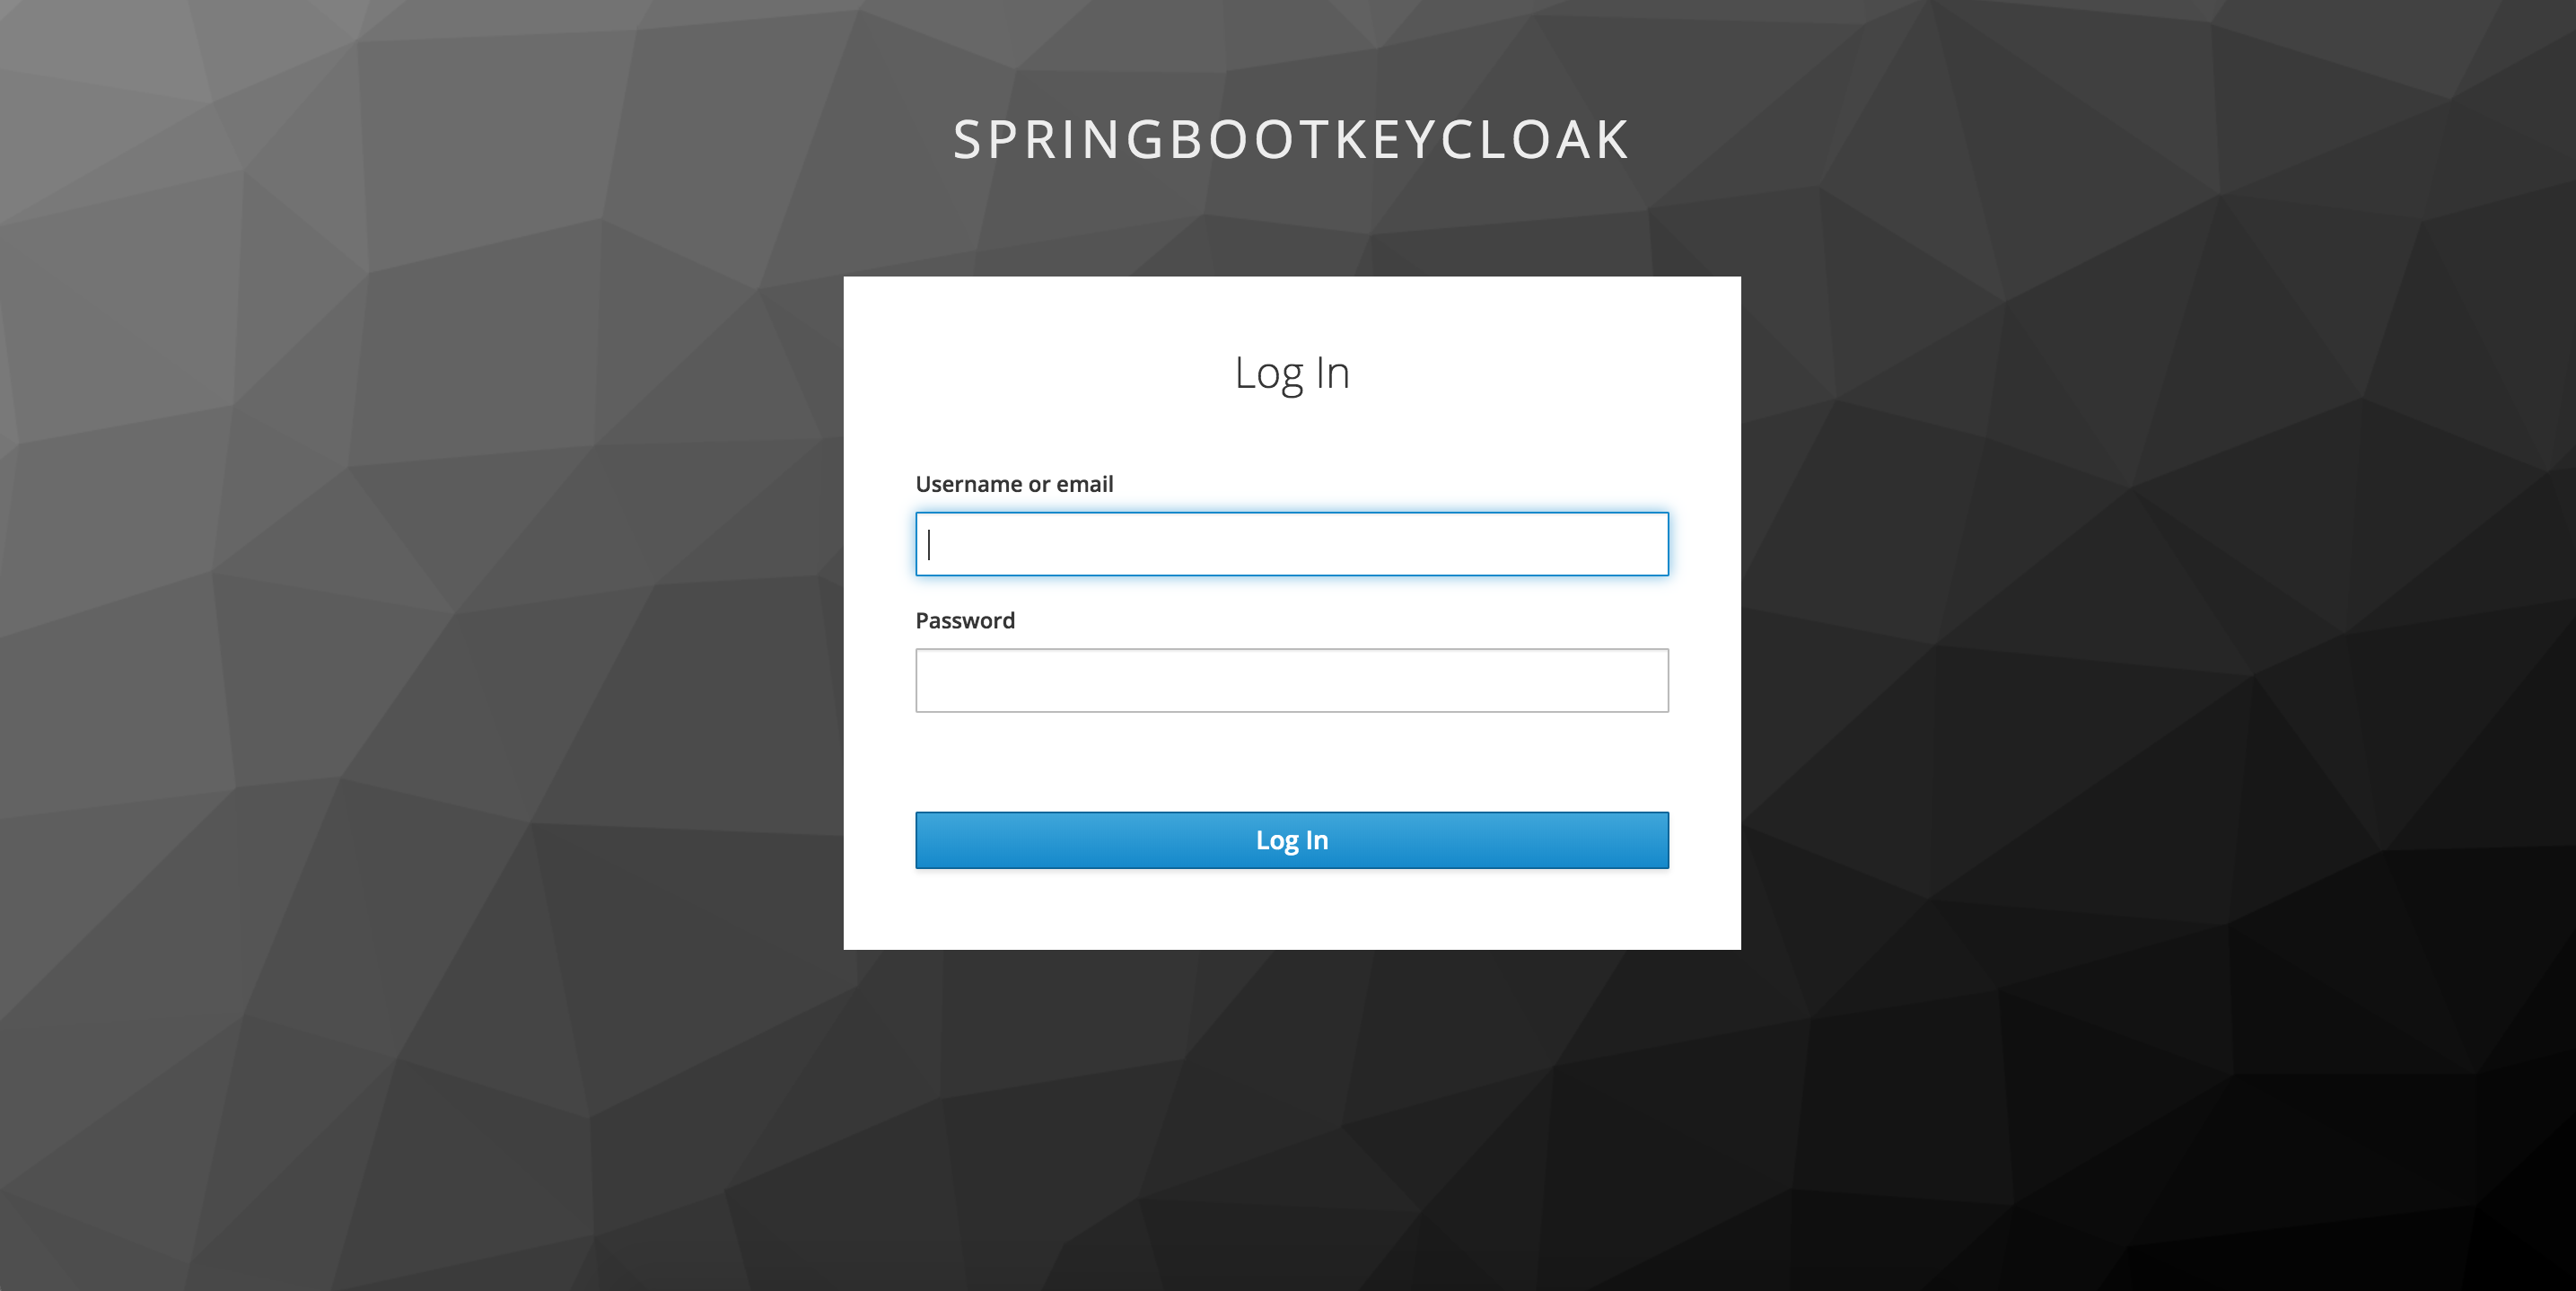
Type username : adminUser and password adminUser it should lead you to this page below

Code